How to create an event as a Facebook page
Events have been around for a long time on Facebook, but they have come a long way since their inception on the platform. Whether you have an online, physical, ticketed or free event to promote, Facebook makes it simple. Today we’re going to be navigating the world of creating events on Facebook. You can create an event with your personal profile being the host, but in this article we are focussing on creating events hosted by a Facebook page you manage.
Here’s your step-by-step guide to creating and sharing an event on Facebook.
Navigate to event creation via desktop
- Go to a page you manage. You can access your pages through going to the home page and selecting the ‘Pages’ flag icon at the top of the page or in the column on the left-hand side of the screen.
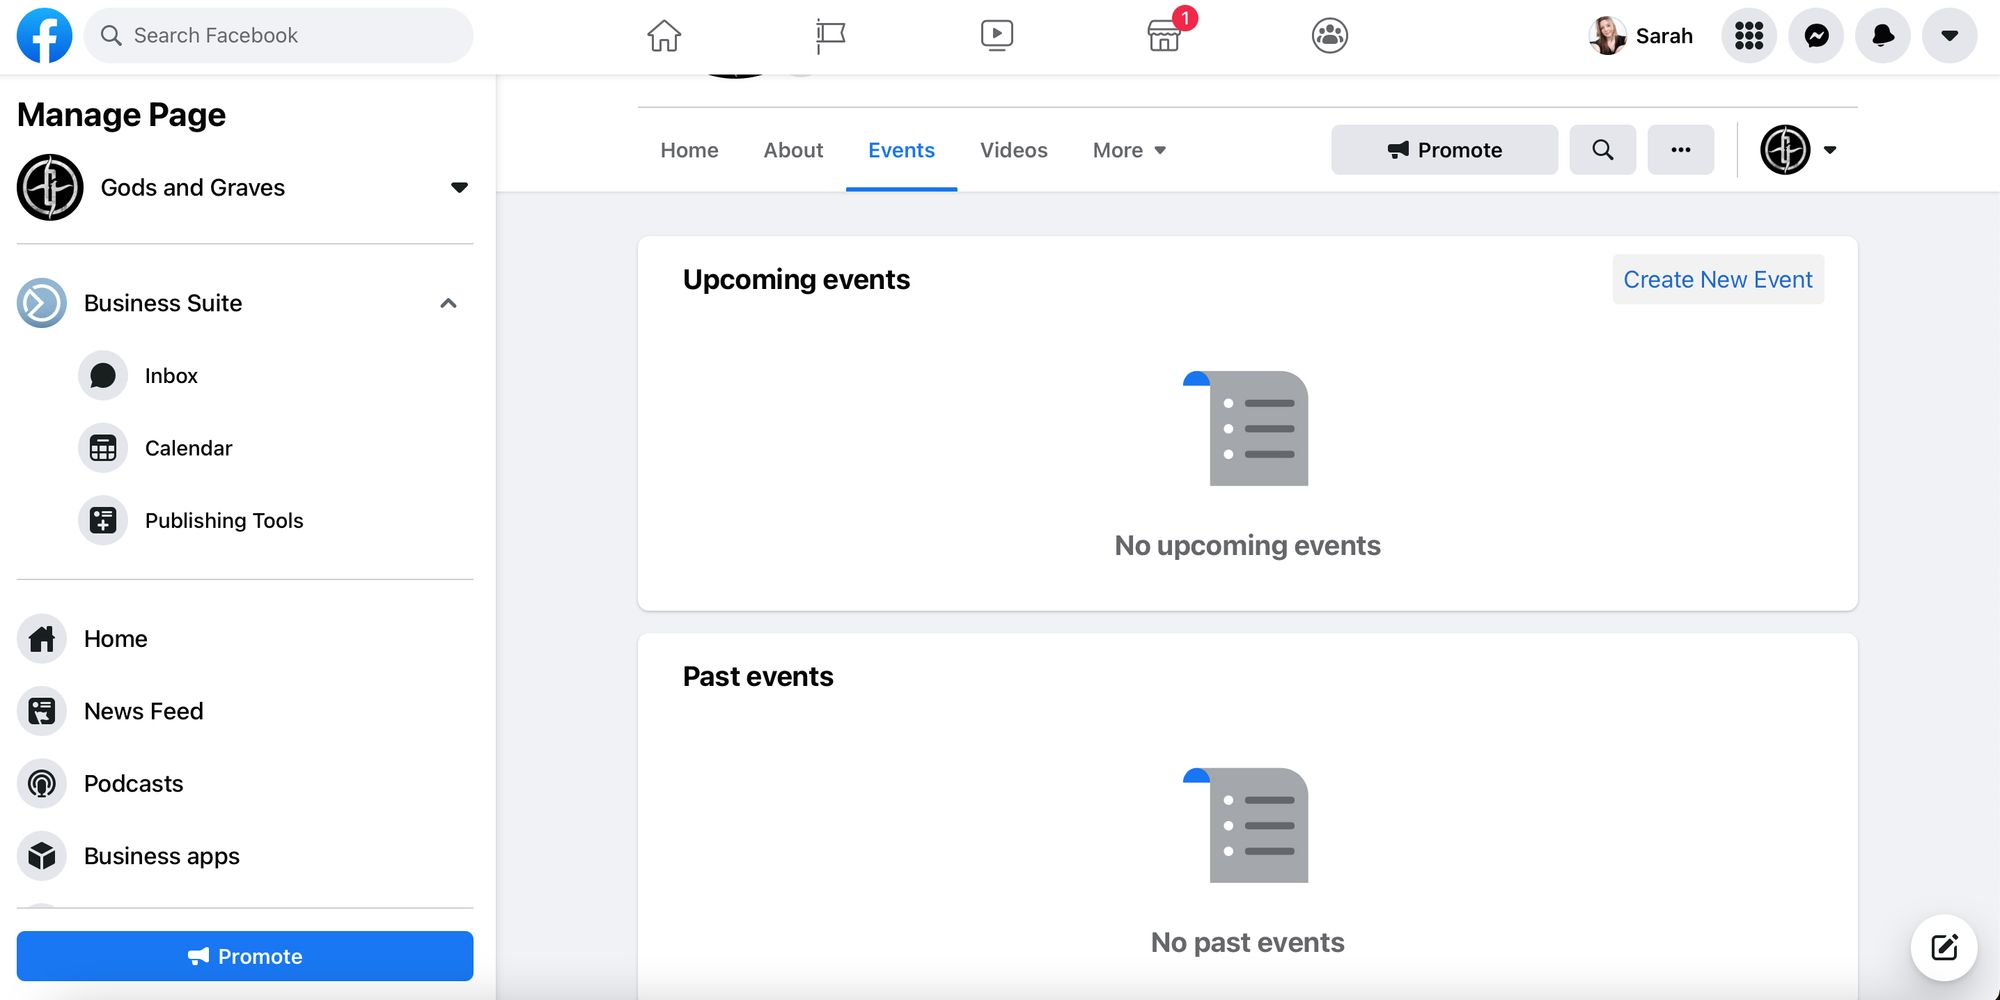
- When you are on the page you manage, select the ‘Events’ tab.
- In the ‘Upcoming Events’ section, select ‘Create New Event’ on the right-hand side. If you don’t have an events tab, change your page tabs with this guide.
Navigate to event creation via mobile app
- Open the Facebook mobile app.
- Tap the ‘Pages’ flag in the bar at the bottom of the screen.
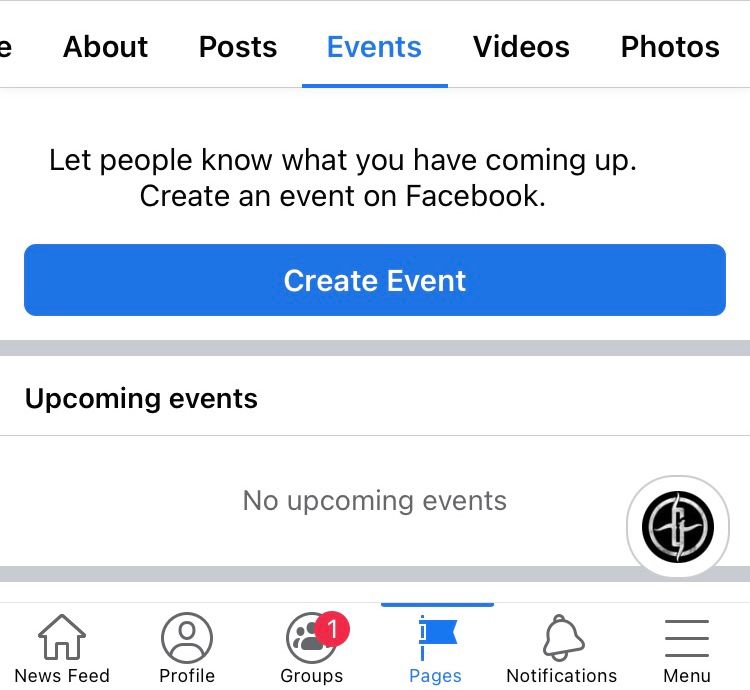
- Select the ‘Events’ tab.
- Tap the blue ‘Create Event’ button.
Decide on an online or in-person event
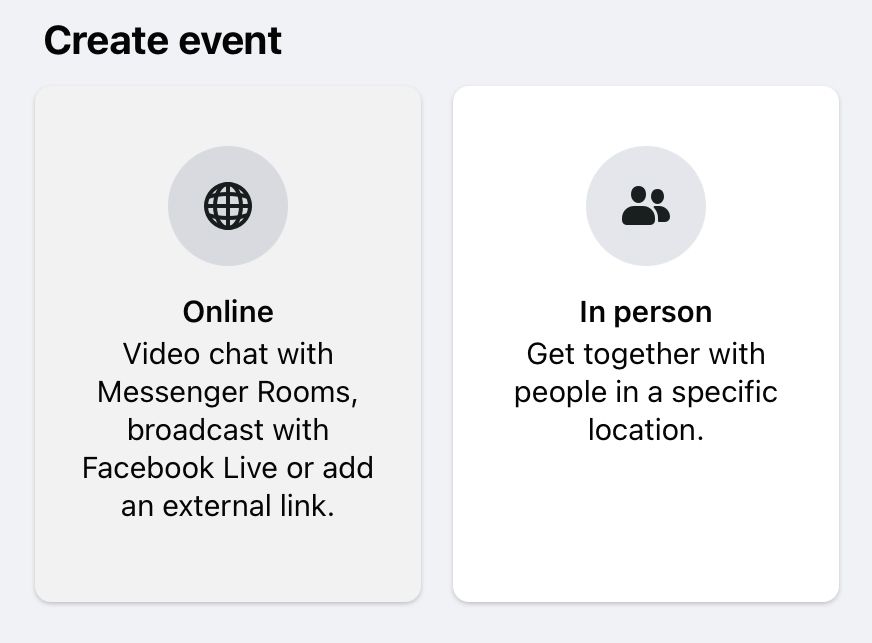
You can create a virtual or physical event and promote it through Facebook.
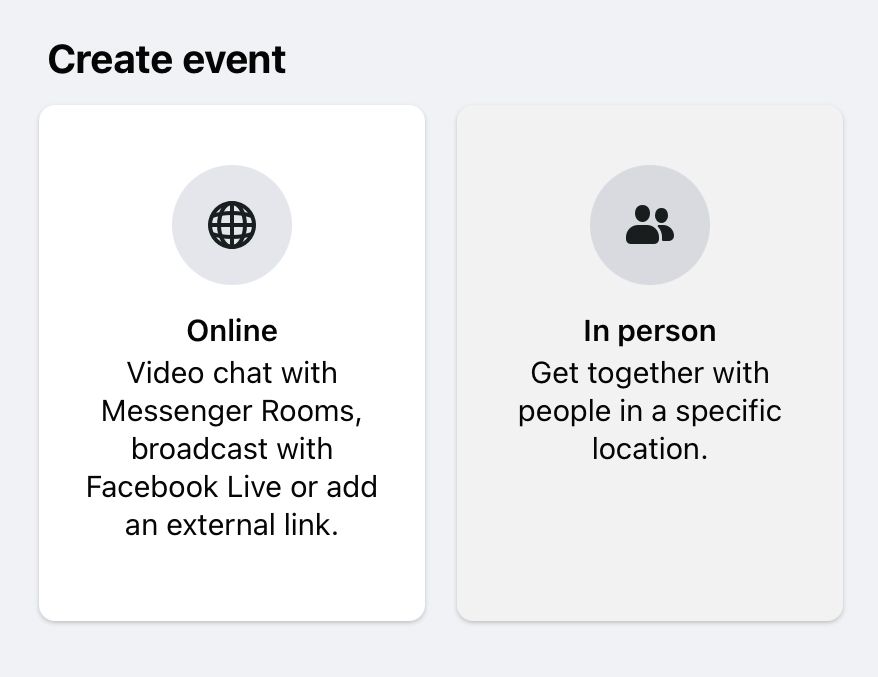
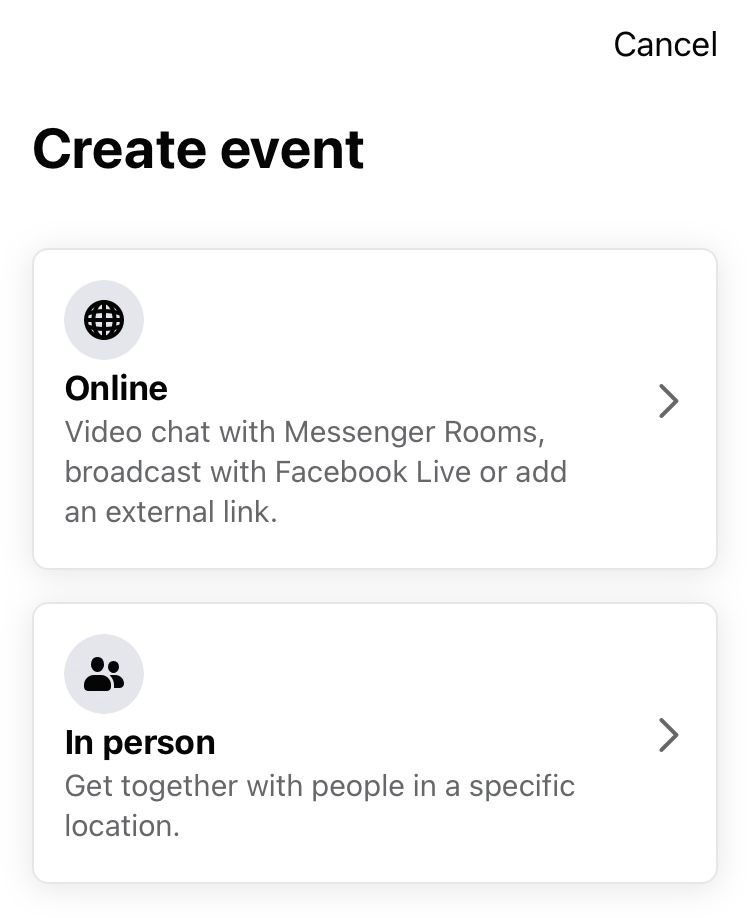
If you are choosing to host an online event you can:
- Video chat with Messenger Rooms
- Broadcast with Facebook Live
- Add an external link
If you are choosing to host an in-person event you will be getting together with people in a specific location at a chosen time.
Creating a physical event via desktop
- Select ‘In person’.
2. Fill in the event name, date, start and end time.
3. If it’s a recurring event, select this option and customise the frequency and specific dates. This option is available on desktop for pages hosting an event.
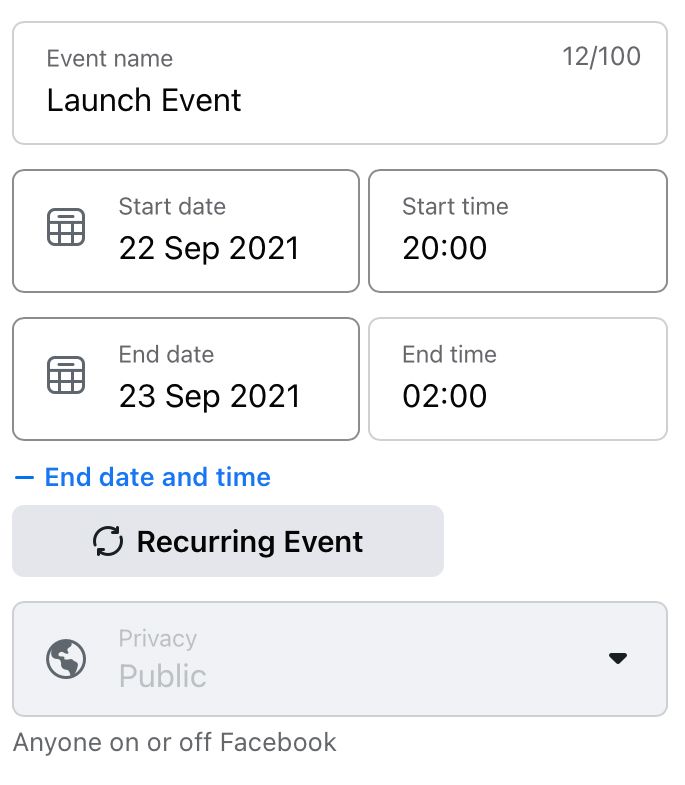
4. When creating an event through a Facebook page, the privacy will be automatically set to public. You can’t change this setting.
5. Add an event description and select the event category which most suits your event through the drop-down menu.
6. When you are happy with your information, select the blue ‘Next’ button at the bottom of the page.
7. Add the location of the event by using the location feature or by searching for a venue. Then select the blue ‘Next’ button at the bottom of the page.
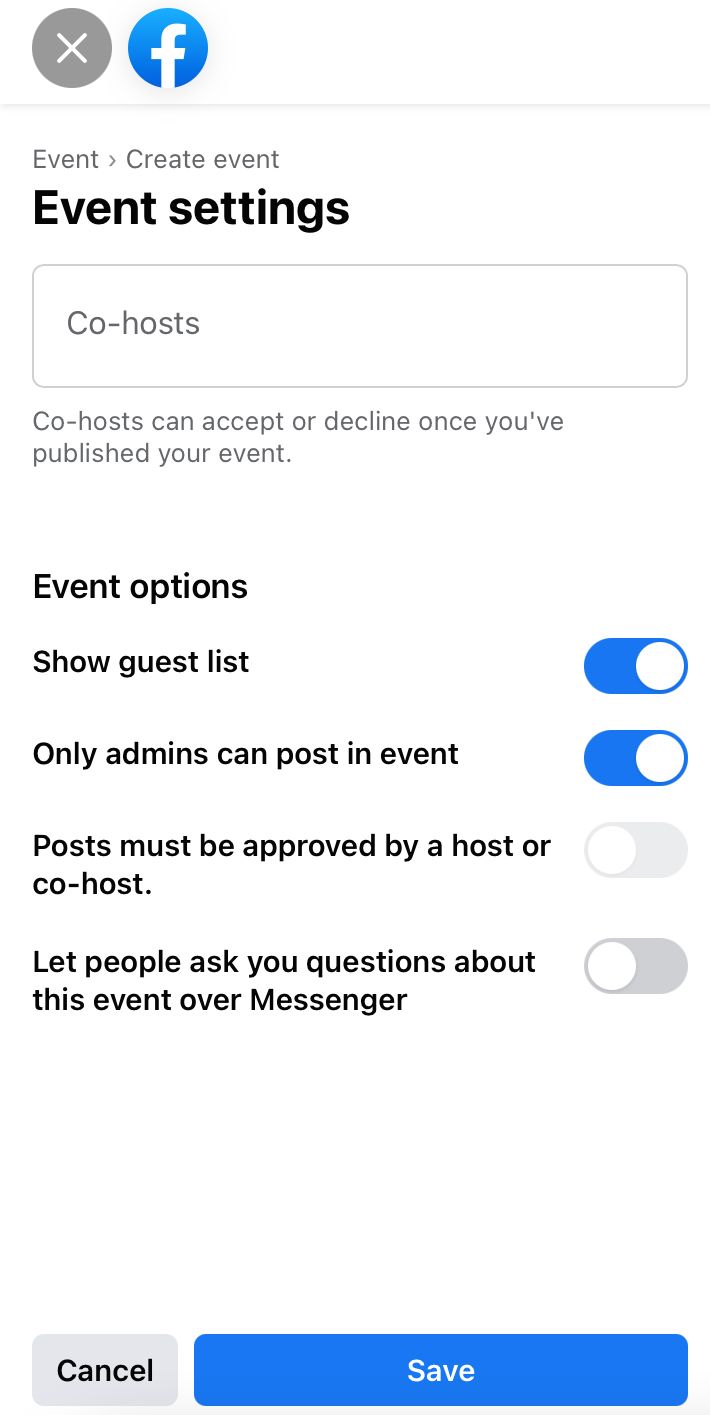
8. Change the cover photo and toggle the event settings as appropriate. Settings include adding co-hosts from your list of friends or other pages and deciding on various posting options.
9. An event hosted by a Facebook page has the option to add a link to a ticketing website if you are charging an entry fee or encouraging advanced bookings.
10. Be sure to check how your event looks on a desktop and the Facebook mobile app using the preview on the right-hand side.

11. Publish the event or save it as a draft using the buttons at the bottom of the screen.
Creating a physical event via mobile app
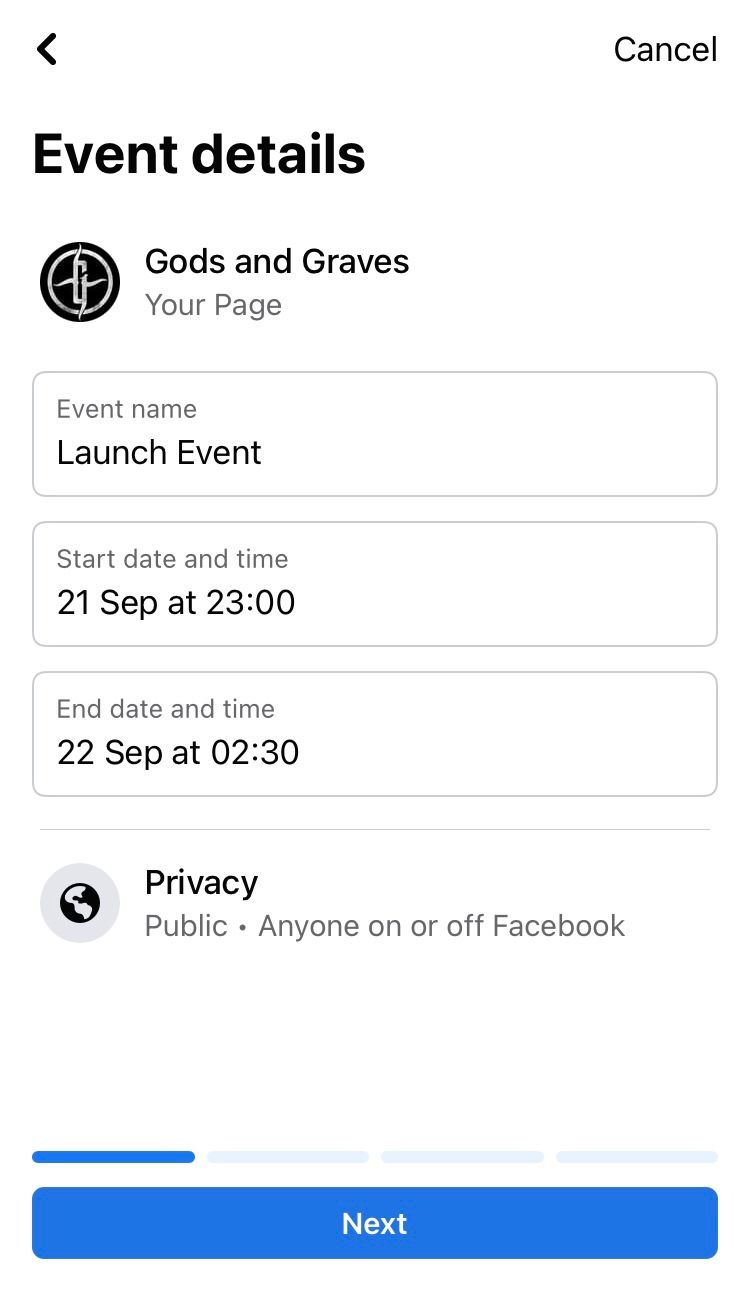
- Select ‘In person’.
- Fill in the event name and the time and date of the event. You can only set the event as recurring via desktop.
- Tap the blue ‘Next’ button at the bottom of the page.

4. Input the event location (optional), then hit ‘Next’.
5. Write a description and optionally add a category.
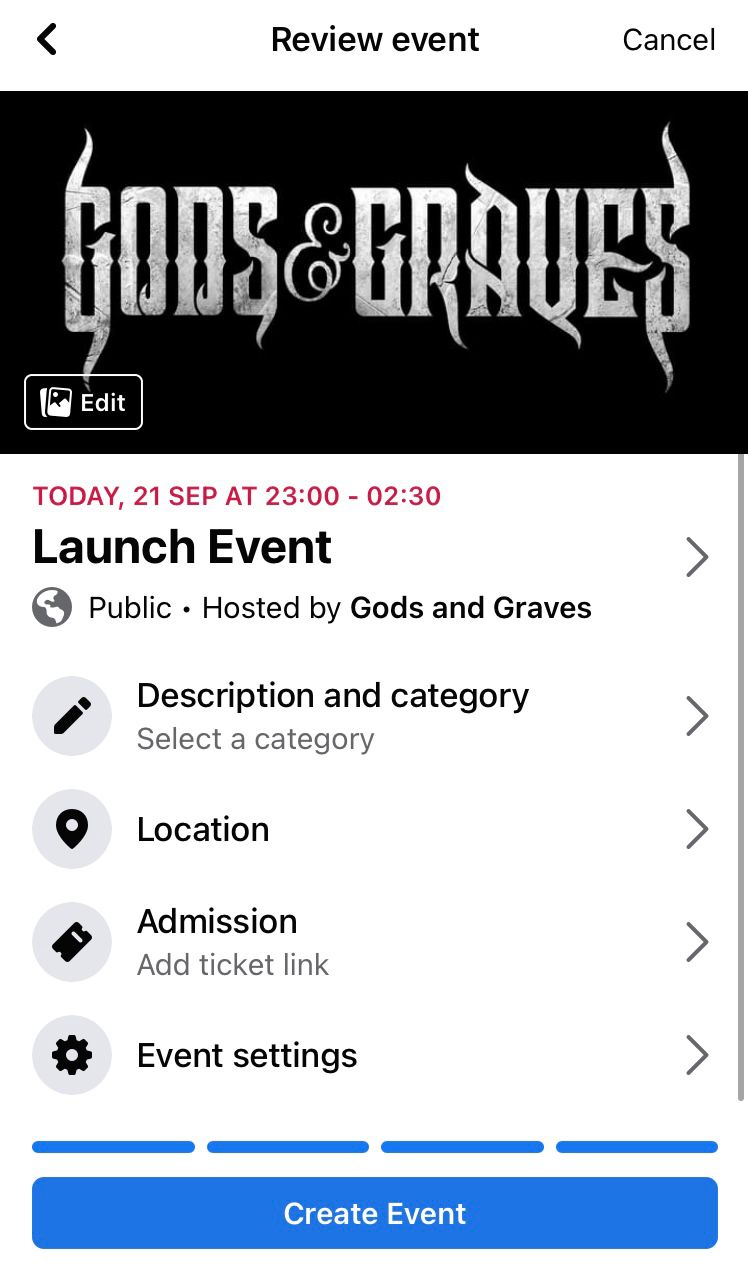
6. In the ‘Review event’ page you can change the cover image alongside the previously chosen description, category and location.
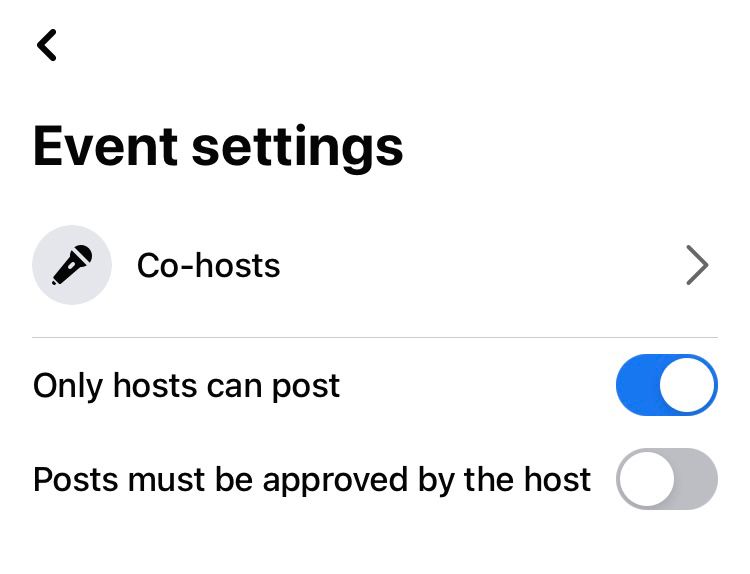
7. Add a ticket link as appropriate and toggle the event settings. In the ‘Event settings’ you can add friends as co-hosts. Use a desktop to get more setting options.
8. When you are happy with your event, tap the blue ‘Create Event’ button at the bottom of the screen.
Creating an online event
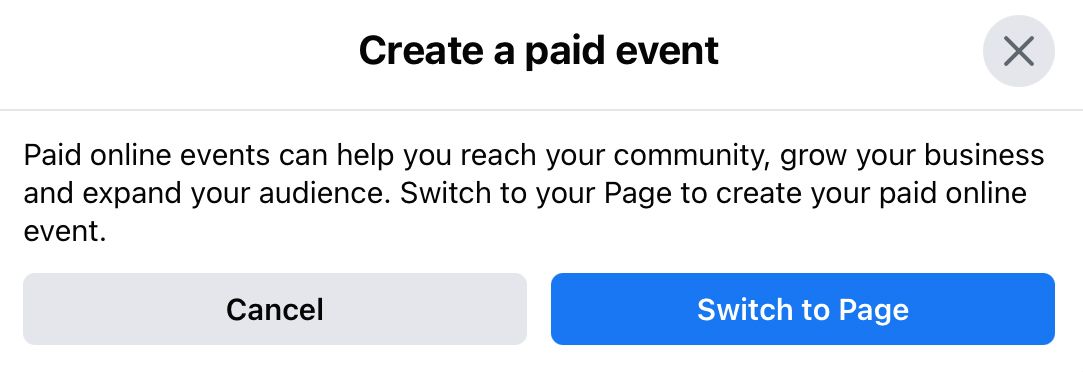
You can create online events hosted by your personal profile or a Facebook page you manage, however paid online events can only be hosted by a Facebook page.
Creating an online event via desktop
- Select ‘Online’.
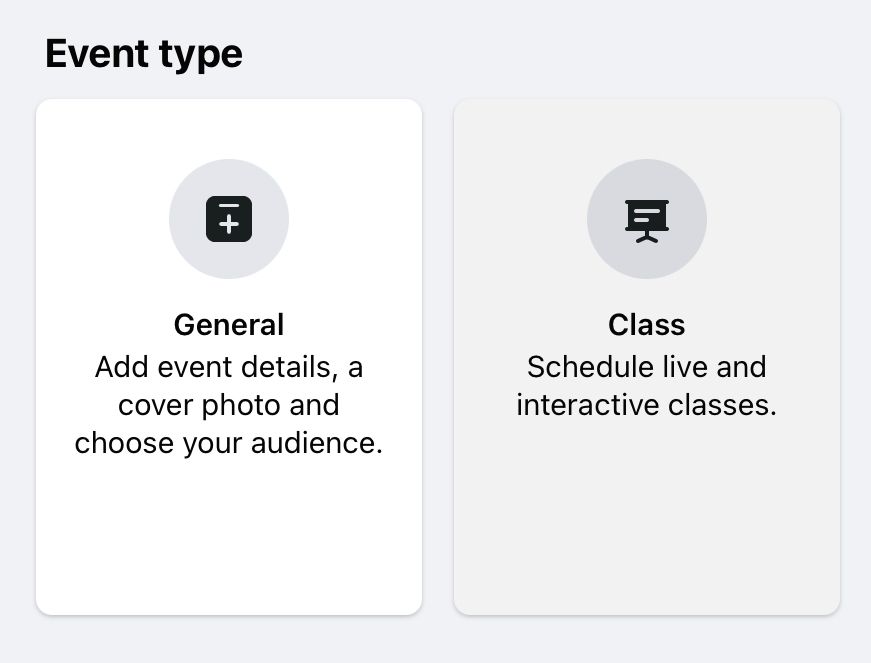
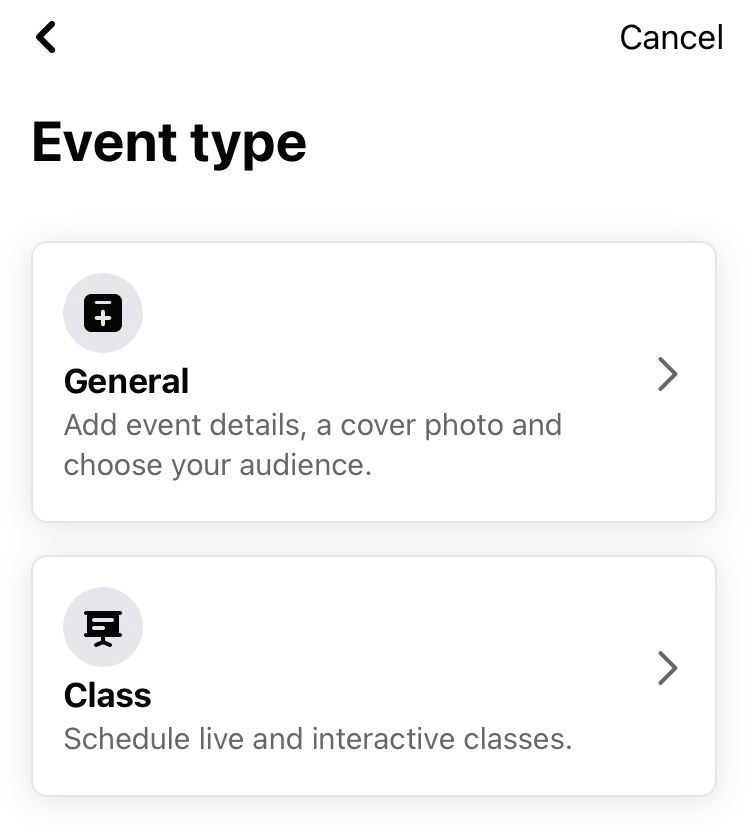
- Select ‘Class’ or ‘General’.
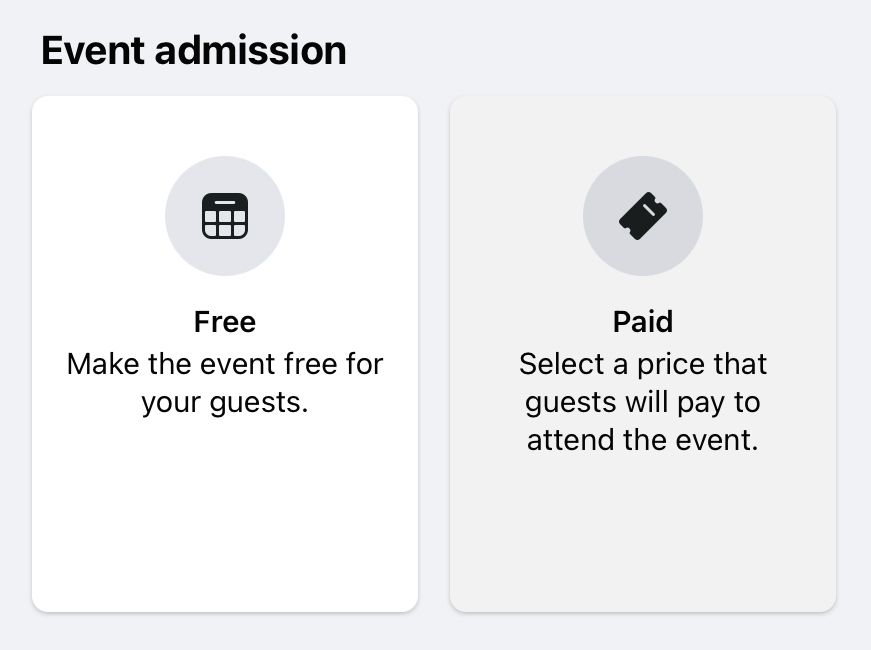
3. Here you must decide whether the class is free or paid.
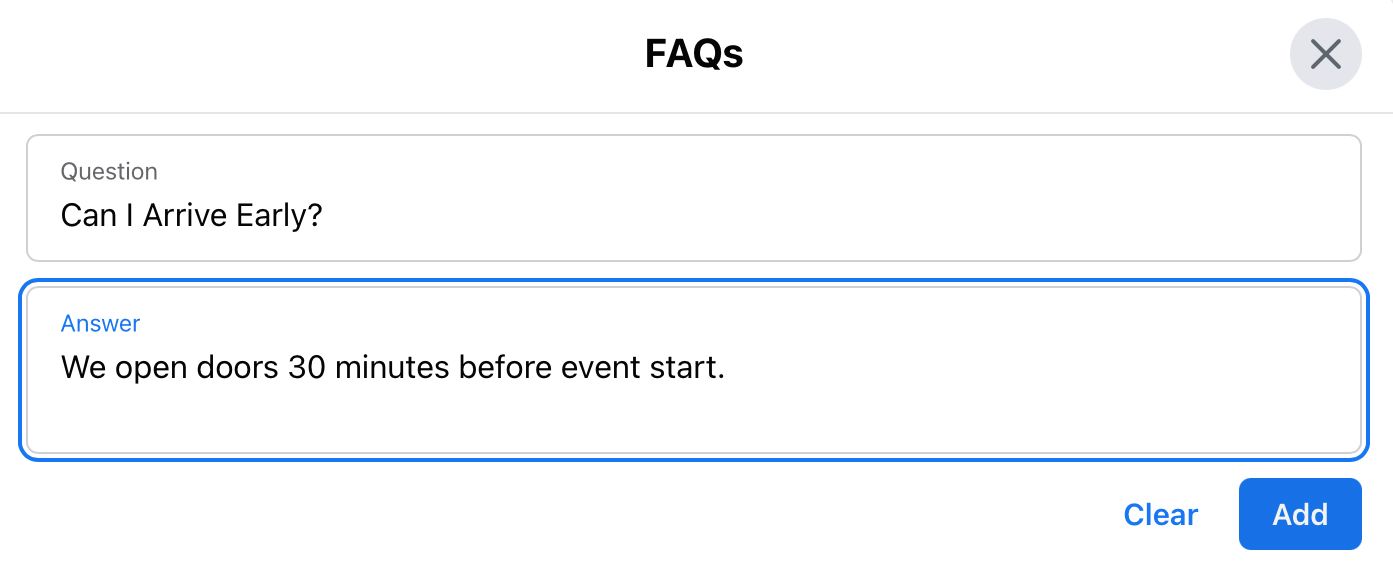
4. Enter the event name, time and date, location (optional), description and FAQs. Then select ‘Next’ at the bottom of the panel.
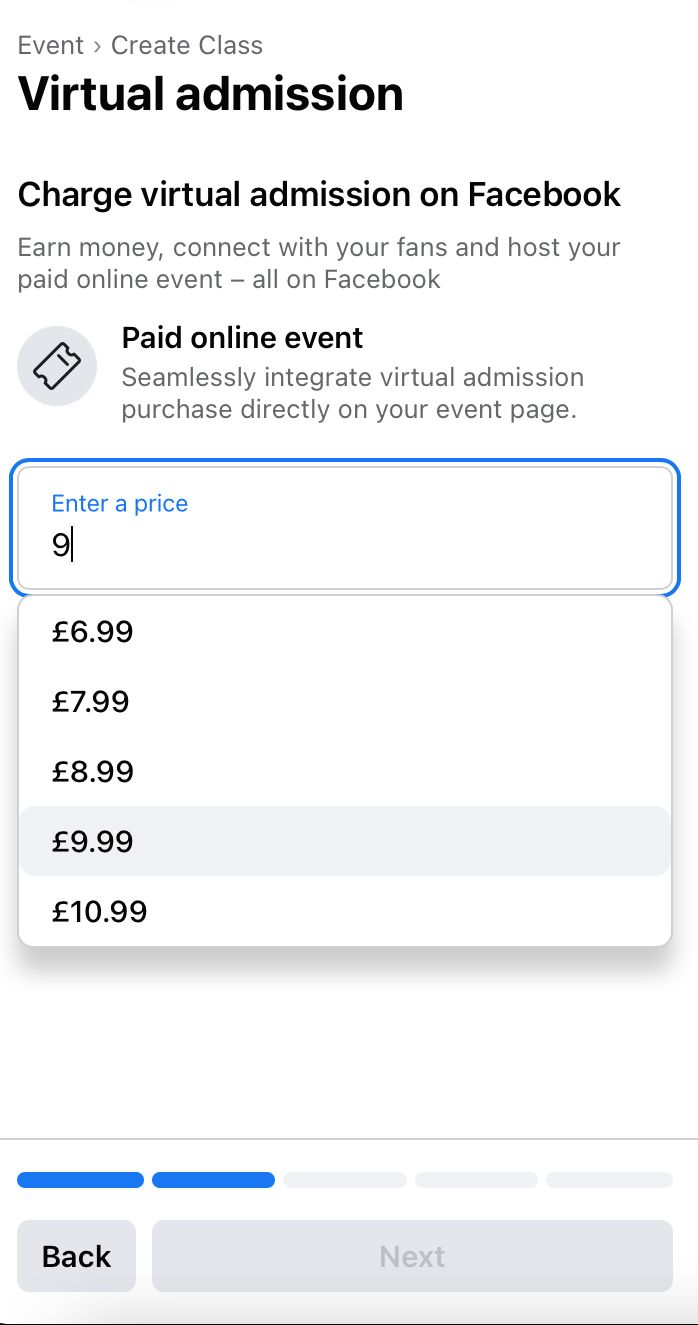
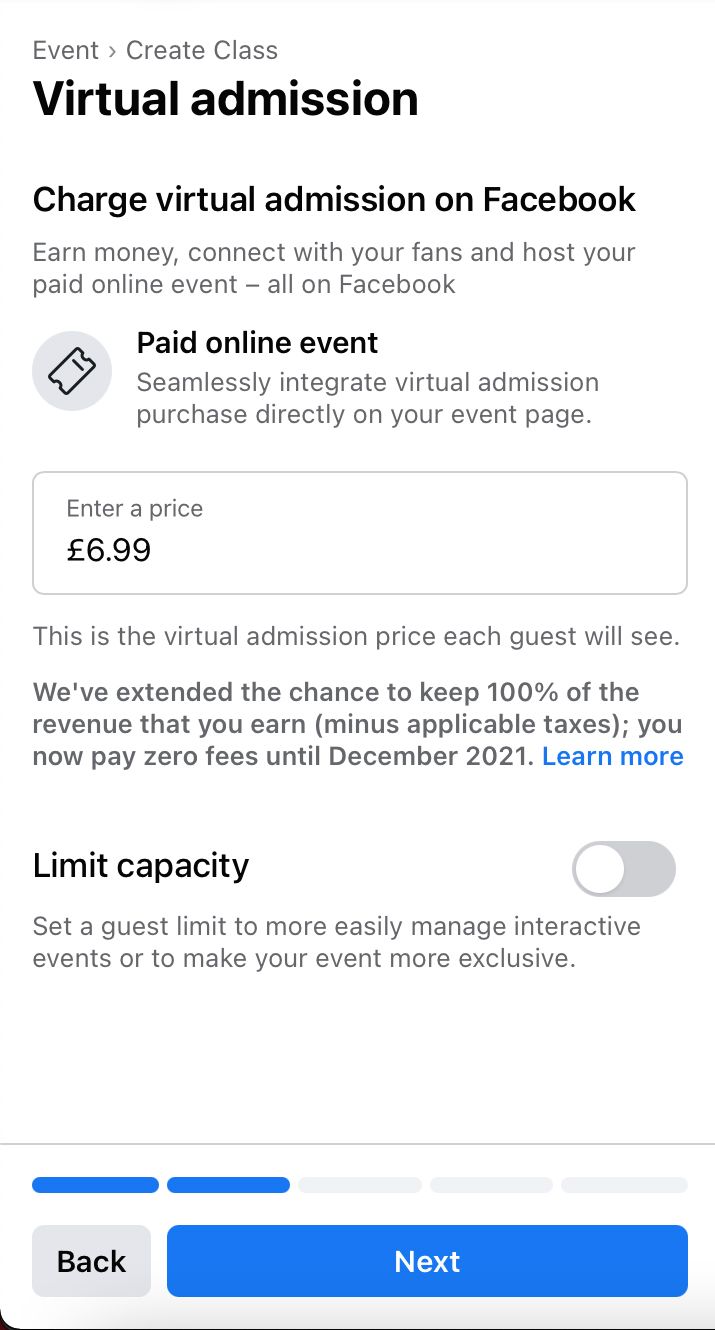
5. If you have chosen a paid event, the next step is to input the price for a ticket. Once you have decided on pricing, you have the option to limit capacity for the event. You may get the option to provide an early bird discount here too. Then select ‘Next’.
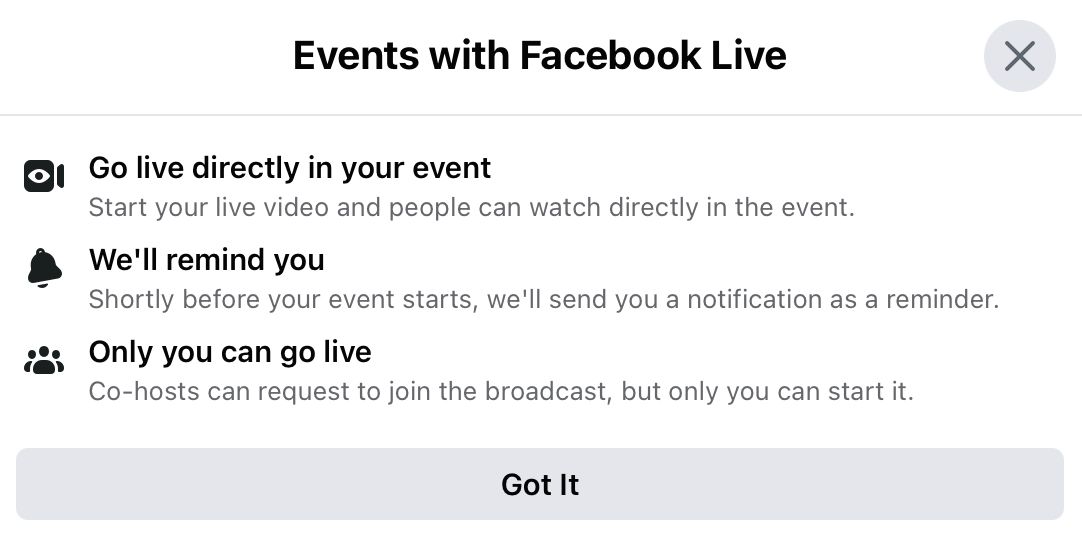
6. Choose how people will join the event. This could be via Facebook Live, an external link or another option. Then select ‘Next’.
7. Add any requirements for the event attendees. Then select ‘Next’.
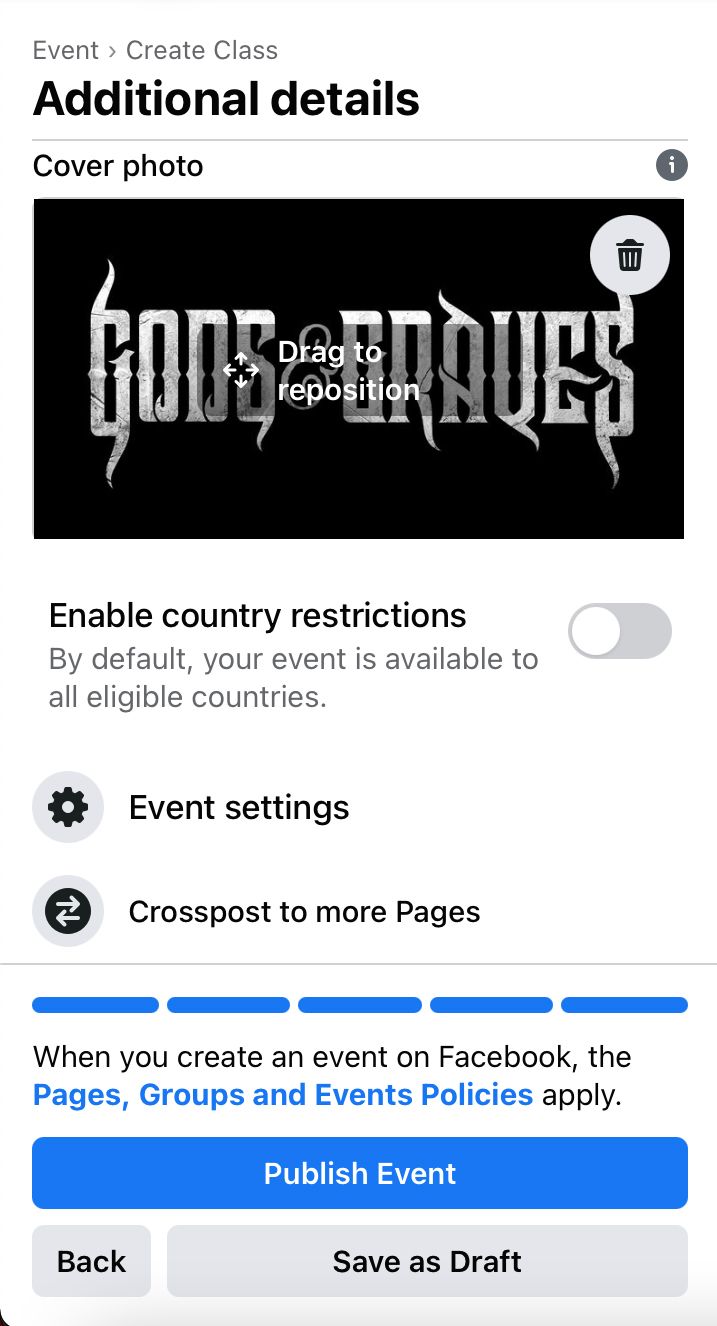
8. Change the cover photo, decide on any country restrictions, toggle the event settings and choose crossposting settings as appropriate.
9. Review the event aesthetics on the right-hand side as it appears on desktop and mobile.
10. Publish the event or save as a draft.
Creating an online class via mobile app
- Tap ‘Online’.
- Select ‘Class’ or ‘General’.
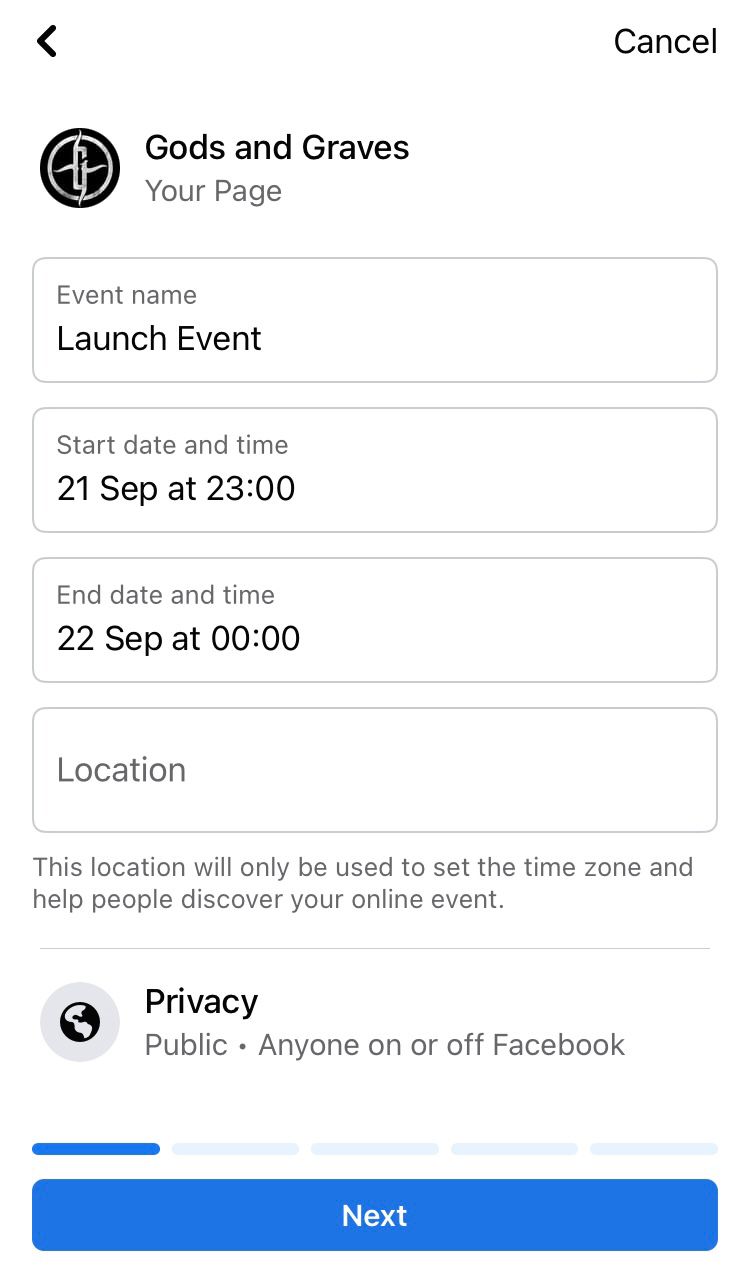
3. Fill in the event name, time, date and location. Then tap the blue ‘Next’ button at the bottom of the screen.
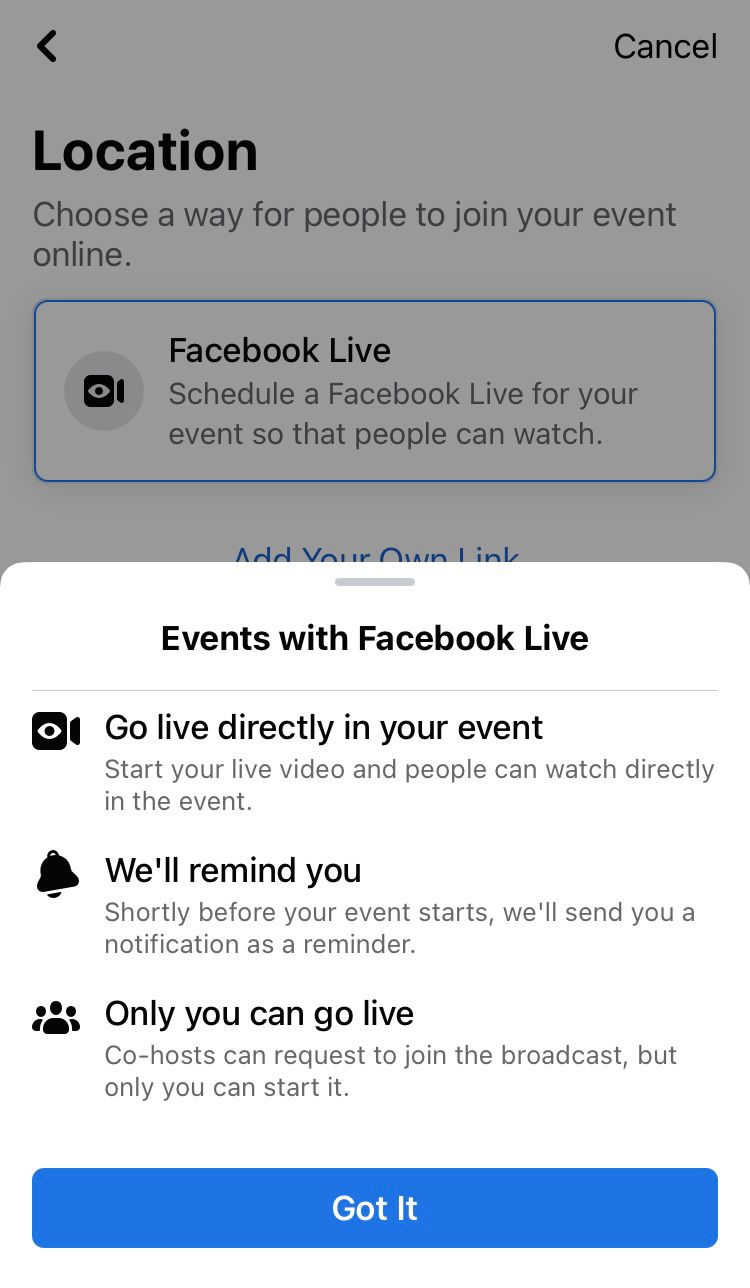
4. Choose a way for people to join the online event. This could be via Facebook Live or your own link. Then tap ‘Next’.
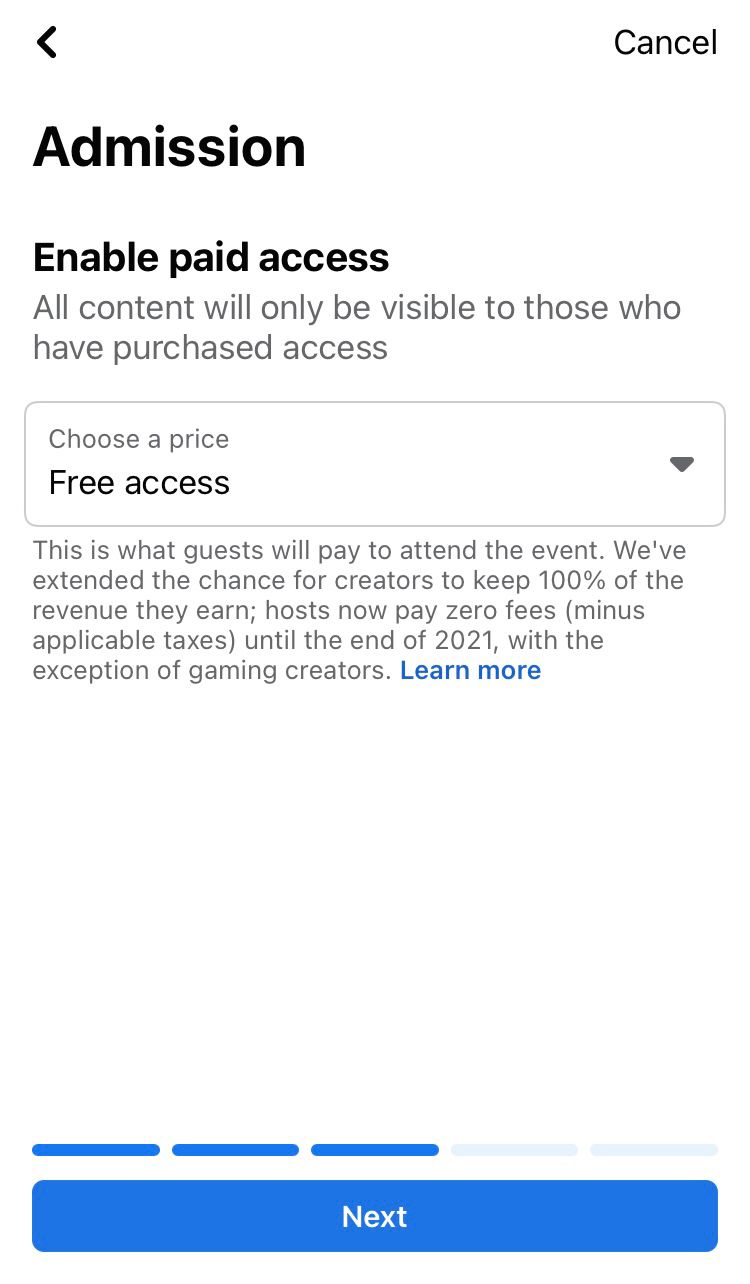
5. Choose whether your event is free or ticketed. If you want to make money from the event through Facebook, you must review and check your personal details and agree to the ‘Paid Online Events Terms of Service’. Then tap ‘Next’.
6. Fill in a description, category (optional), requirements for the event attendees and links to relevant groups (optional). Then tap ‘Next’.
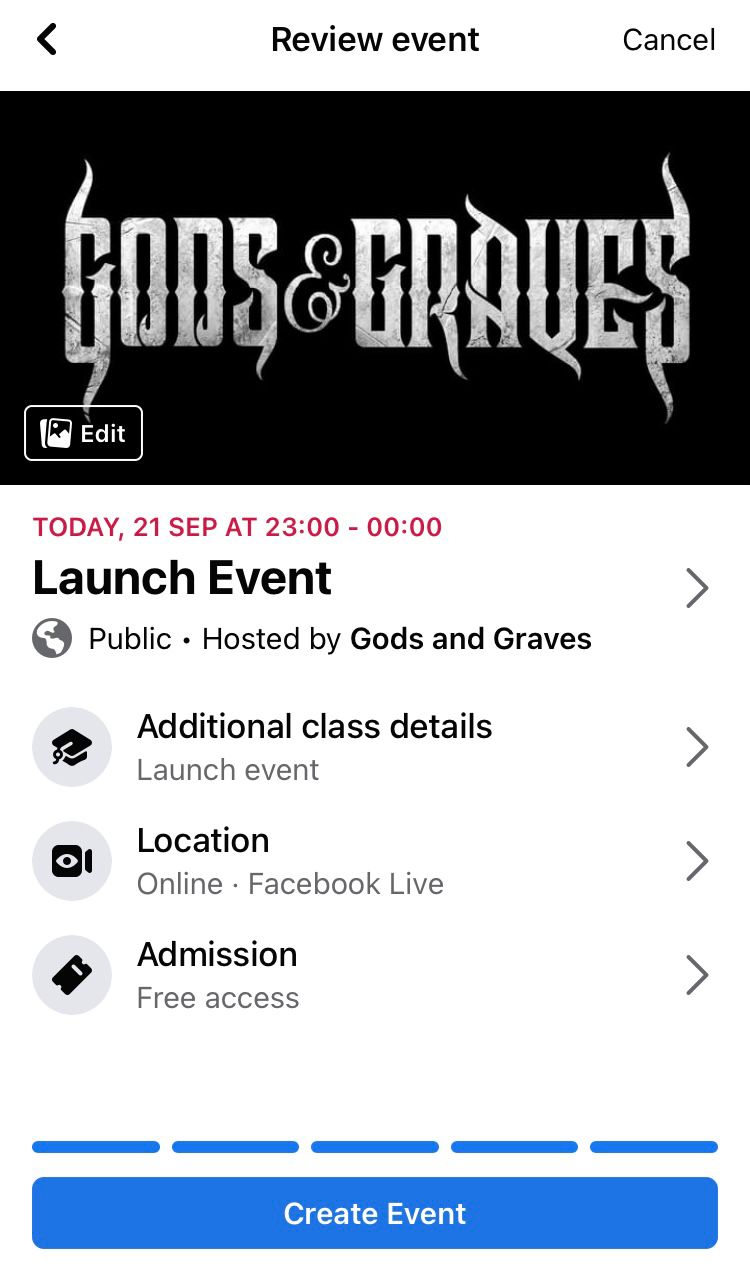
7. Review the event information before hitting the ‘Create Event’ button at the bottom of the screen.
Whether you choose to promote physical events on Facebook or design an online event specifically for your audience on social media, sharing an event on Facebook is a great way to engage and connect with your audience.
Developing the events feature is one way Facebook has developed its platform to allow creators, brands and businesses to sell tickets directly on Facebook. In a way, this is somewhat like Twitter’s ticketed spaces monetisation feature. Check out our articles on ticketed spaces, tip jars and super follows for more details on Twitter’s deep dive into monetisation on social media. With more choice for social media users comes a demand for social media platforms to step up the value they provide, which is great for companies looking for new ways to monetise at this time, as Facebook dives into monetisation beyond advertising.
We hope this article helps you confidently bring events to your following. To tailor events specifically to your audience’s needs, find out more about them with in-depth demographic data from Minter.io. Your free trial is just a click away!
Try Minter.io →